Using Elasticsearch Kibana with AWS SSO
A guide to setting up AWS Elasticsearch Kibana to authenticate vis AWS SSO and SAML 2.0.
Securing Elasticsearch Kibana with AWS SSO
“Trying to debug complex production issues without observability is like trying to cross a muddy field, blindfolded, at night.” - anon
I’ve been an avid user of observability tools since I discovered Splunk over a decade ago. The biggest downside to Splunk is the cost and I’ve been lucky enough to work in places where the benefits of a tool like Splunk outweight the massive licensing fees.
Recently while exploring native AWS services, I found Cloudwatch Logs to be a bit lacking for my tastes so I’m hoping Elasticsearch can give me the observability drug I need without venturing too far outside the walls of AWS.
ELK stack is a very popular log aggregation & querying stack powered by open source software and while I’ve used it, and derivates such as Grafana, I’ve been consistently impressed at how much bang it provides for virtually no bucks at all. If you want to follow along, Open Distro Elasticsearch can be launched within the AWS free tier as long as you use a single node and choose t2.small.elasticsearch or t3.small.elasticsearch.
I don’t want to manage separate passwords though so it needs to be fully integrated with AWS SSO Auth to be viable.
Surely you could have just Googled this?
Maybe, but my google fu has failed me so I’m documenting the steps and mappings for others.
The official AWS Blog suggests that you need to piggyback over AWS Cognito in order to achieve this. I’ve copied the main diagram below to save you a click:

That blog post was written before the native SAML authentication was added to Kibana on the Amazon Elasticsearch Service (Oct 2020). So now that we have native SAML authentication for Kibana we can integrate directly with AWS SSO and cut out the middle man. I also don’t need AD integration so I’ll skip that although YMMV.

I’ll update this page as I learn more. Here’s the current status:
- Make it work
- Make it good
- Make it fast
One limitation of this approach is that AWS SSO does not appear to support passing Groups to Custom SAML 2.0 applications at this time so while AWS SSO Groups can be used to grant/deny access to an application overall, further refinement of permissions must be handled inside Kibana based on username.
Spare me the story, what’s the short version?
It’s not one of the AWS SSO supported apps so we have to go the long way round with a custom SAML app.
Launch settings for Elasticsearch:
| Setting name | value | info |
|---|---|---|
| Deployment type | Dev & Test | (free tier eligible) |
| Version | 6.7 or later | SAML auth landed in v6.7 |
| Instance type | t2.small.elastisearch / t3.small.elastisearch | (free tier eligible) |
| Network configuration | Public access / VPC | VPC Considerations |
| Prepare SAML authentication | 🤷♂️ | SAML can only be configured after the cluster is running so this setting doesn’t do much. |
| Access policy | Open access, or IP restricted | We can strengthen this with IAM ARNs after SAML configuration |
Here’s the AWS ES SAML guide for Kibana.
All the fields are helpfully called different things in different places so you need to map these fields between AWS SSO, Elasticsearch & Kibana:
| AWS SSO App Configuration | Elasticsearch | typical format |
|---|---|---|
| Application properties > Application start URL | Overview > Kibana / Custom Kibana | https://your.domain.here/_plugin/kibana/ |
| Application metadata > Application ACS URL | Modify Auth > SP-initiated SSO URL | https://your.domain.here/_plugin/kibana/_opendistro/_security/saml/acs |
| Application metadata > Application SAML audience | Modify Auth > Service provider entity ID | https://your.domain.here |
| Elasticsearch | AWS SSO | typical format |
|---|---|---|
| Auth > Import IdP metadata | Application Configuration > SAML metadata file | An XML manifest file |
| Auth > SAML master backend role (optional) | IAM Role ARN | arn:aws:iam::123456123456:role/aws-reserved/sso.amazonaws.com/us-east-2/AWSReservedSSO_AdministratorAccess |
You also need to Map attributes using the supported mappings
| User attribute in the app | Maps to this string value or user attribute in AWS SSO | Format |
|---|---|---|
| Subject | ${user:subject} | unspecified |
| roles | sso_user | basic |
Step by step
OK, no problem..
AWS SSO - Create SAML Application
- Go to AWS SSO and Create a new Custom SAML 2.0 Application

- Provide a Display Name and optional Description.

- Download the AWS SSO SAML metadata file
Elasticsearch - Modify Authentication
- Go to the Elasticsearch domain in AWS Console.
- Actions -> Modify authentication
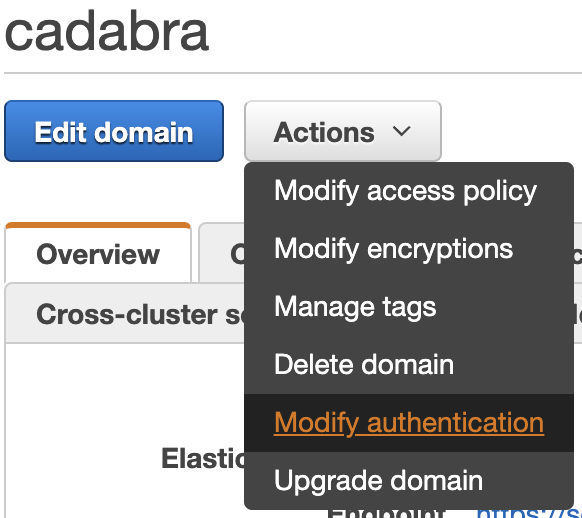
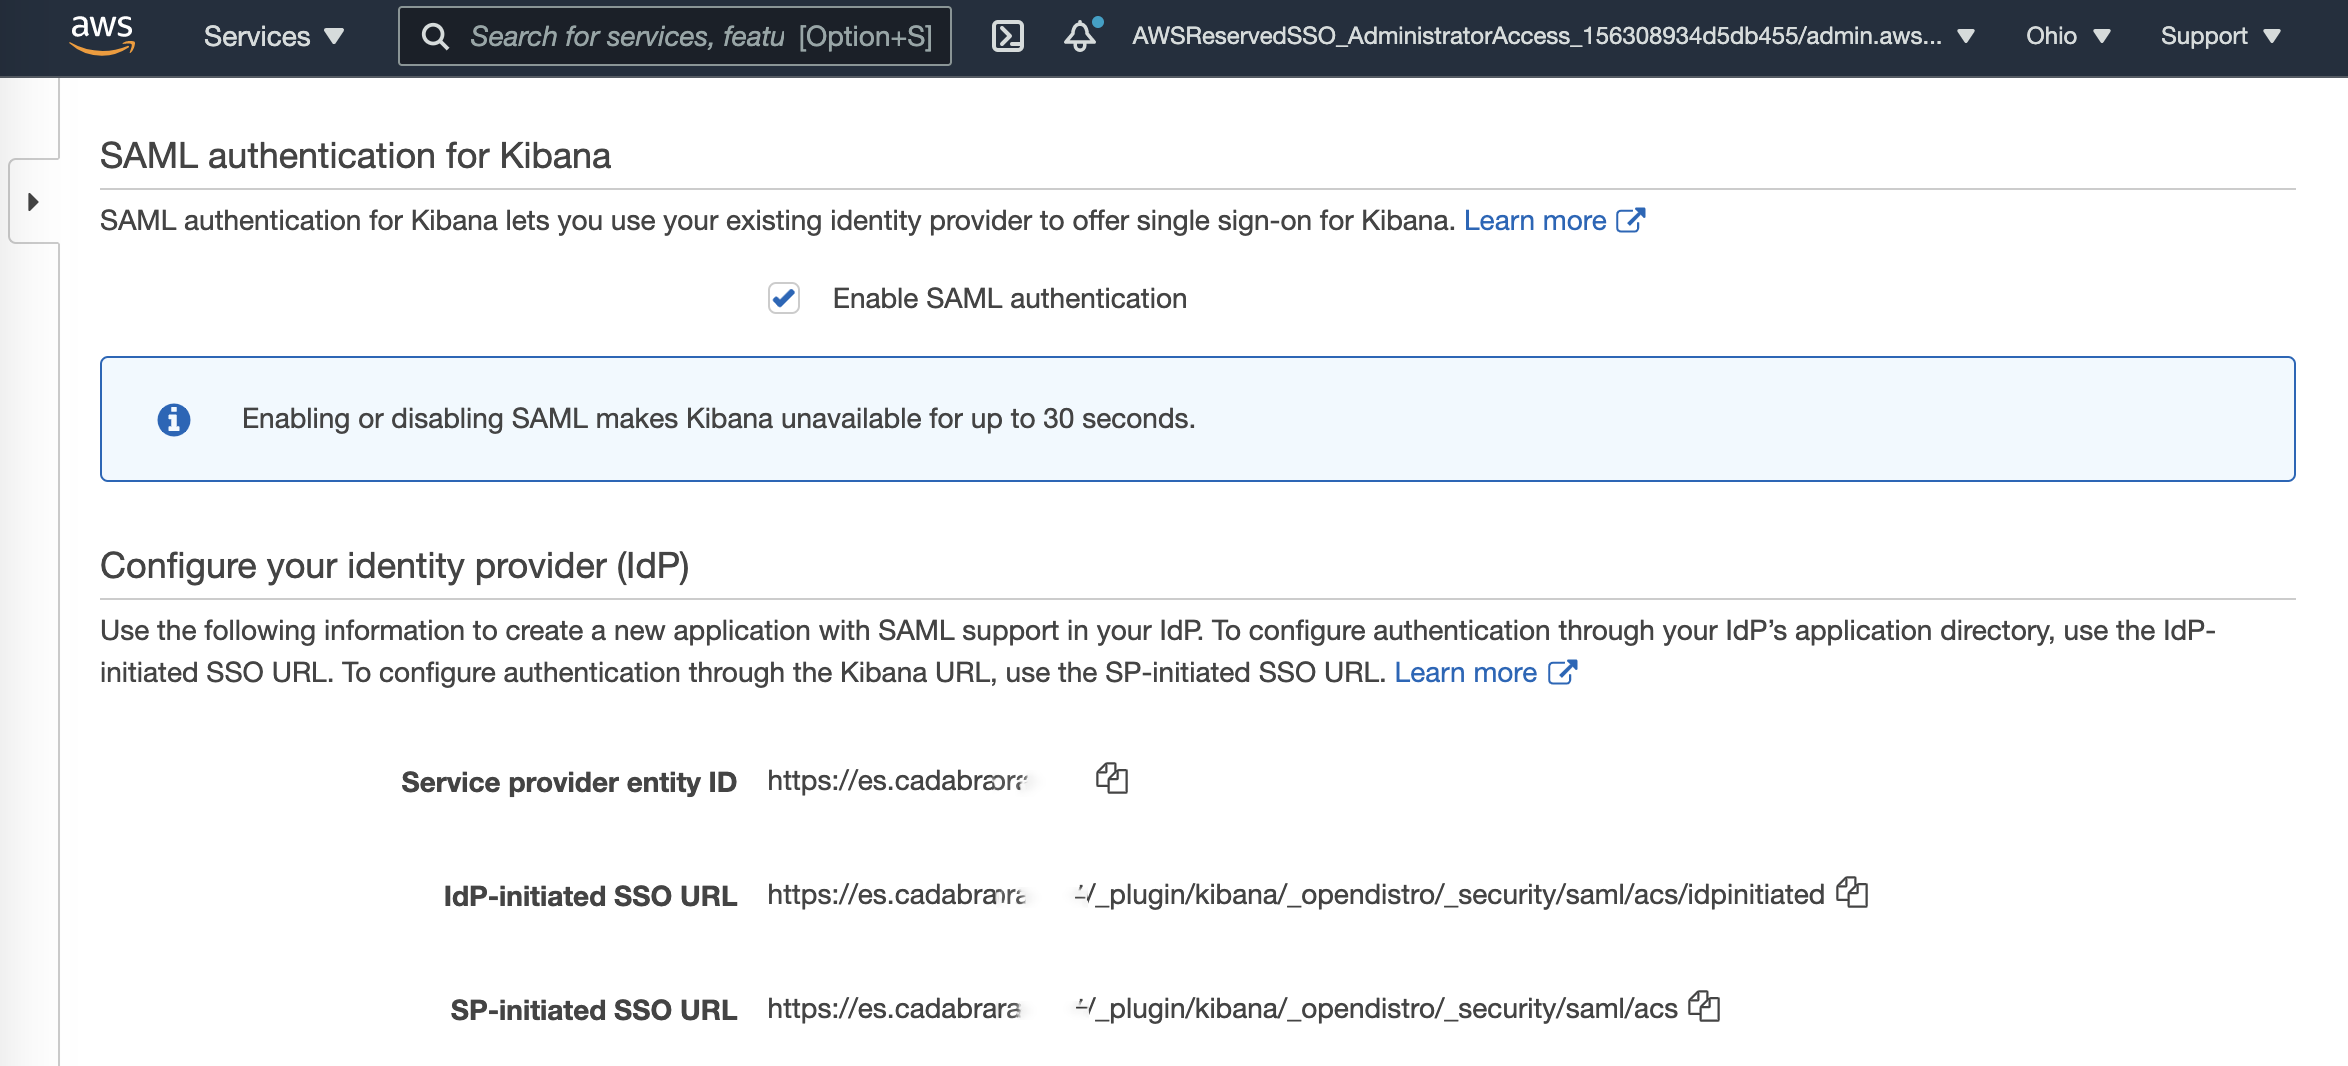
- Under SAML authentication for Kibana, click Enable SAML authentication
- Under Configure your identity provider (IdP) copy the following values:
- Service provider entity ID -> AWS SSO / Application metadata / Application SAML audience
- IdP-initiated SSO URL
- SP-initiated SSO URL -> AWS SSO / Application metadata / Application ACS URL
Elasticsearch >> Configure your identity provider (IdP) 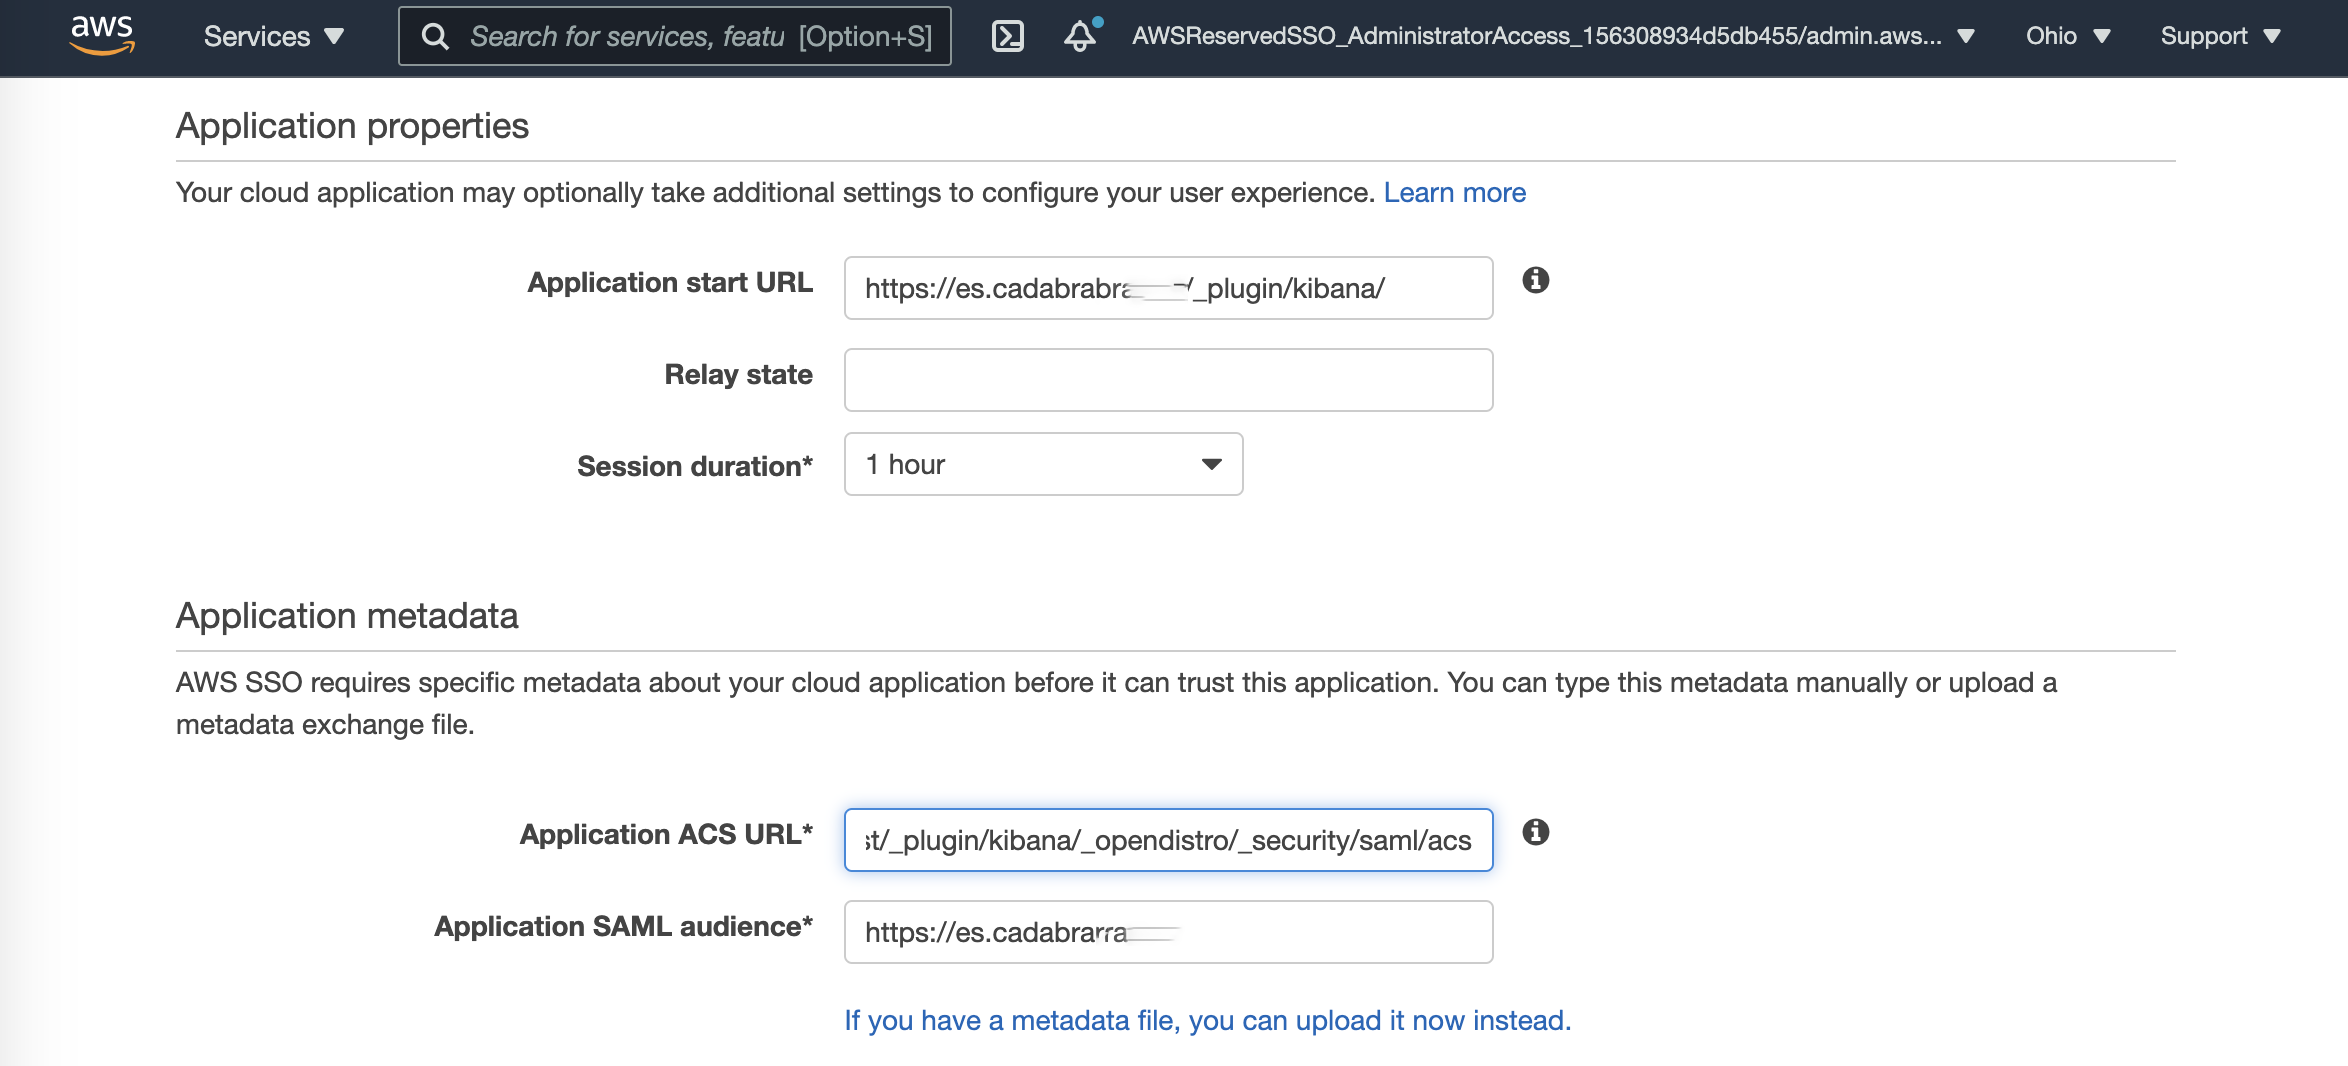
AWS SSO >> Application metadata - Under Import IdP metadata

- Upload the AWS SSO SAML metadata file
- IdP entity ID should be populated automatically from the XML.
-
SAML master username / backend role (optional)
- Use an IAM Role here to resolve access errors in the AWS console.
- Goto IAM Roles
- Search SSO
- Use the Role ARN in SAML Master backend role
- e.g. arn:aws:iam::123456123456:role/aws-reserved/sso.amazonaws.com/us-east-2/AWSReservedSSO_AdministratorAccess
- Note that these fields simply update the all_access and security_manager Role Mappings in Kibana. The details won’t be reloaded next time you edit this page but can be found in Kibana under Security > Role Mappings.

- Use an IAM Role here to resolve access errors in the AWS console.
- Save
- Copy the Kibana or Custom Kibana endpoint from the Overview page -> AWS SSO / Application start URL

Elasticsearch >> Overiew >> _Kibana_ endpoint
AWS SSO >> Application properties >> Application start URL
AWS SSO - Complete Configuration
- Back in AWS SSO, save Configuration
- Change to the Attribute Mapping tab:
-
Populate with the following values.
User attribute in the app Maps to this string value or user attribute in AWS SSO Format Subject ${user:subject} unspecified roles sso_user basic -
Save changes.
-
- Change to the Assigned Users tab
- Add an SSO group to grant access to a set of SSO users.
- Save changes.
Elasticsearch - Modify Access Policy (optional)
Elasticsearch - VPC (optional)
Done!